
In the previous post of the WordPress Plugin Boilerplate series, we explored the loader class and how to properly register hooks. In this post, we will begin developing the WP Starter Plugin by using the plugin generator.
Enrique Chávez, a full-stack WordPress developer from Valle de Bravo, Mexico, built the WordPress Plugin Boilerplate Generator. You can find the plugin generator at https://wppb.me/.
Generating A Plugin
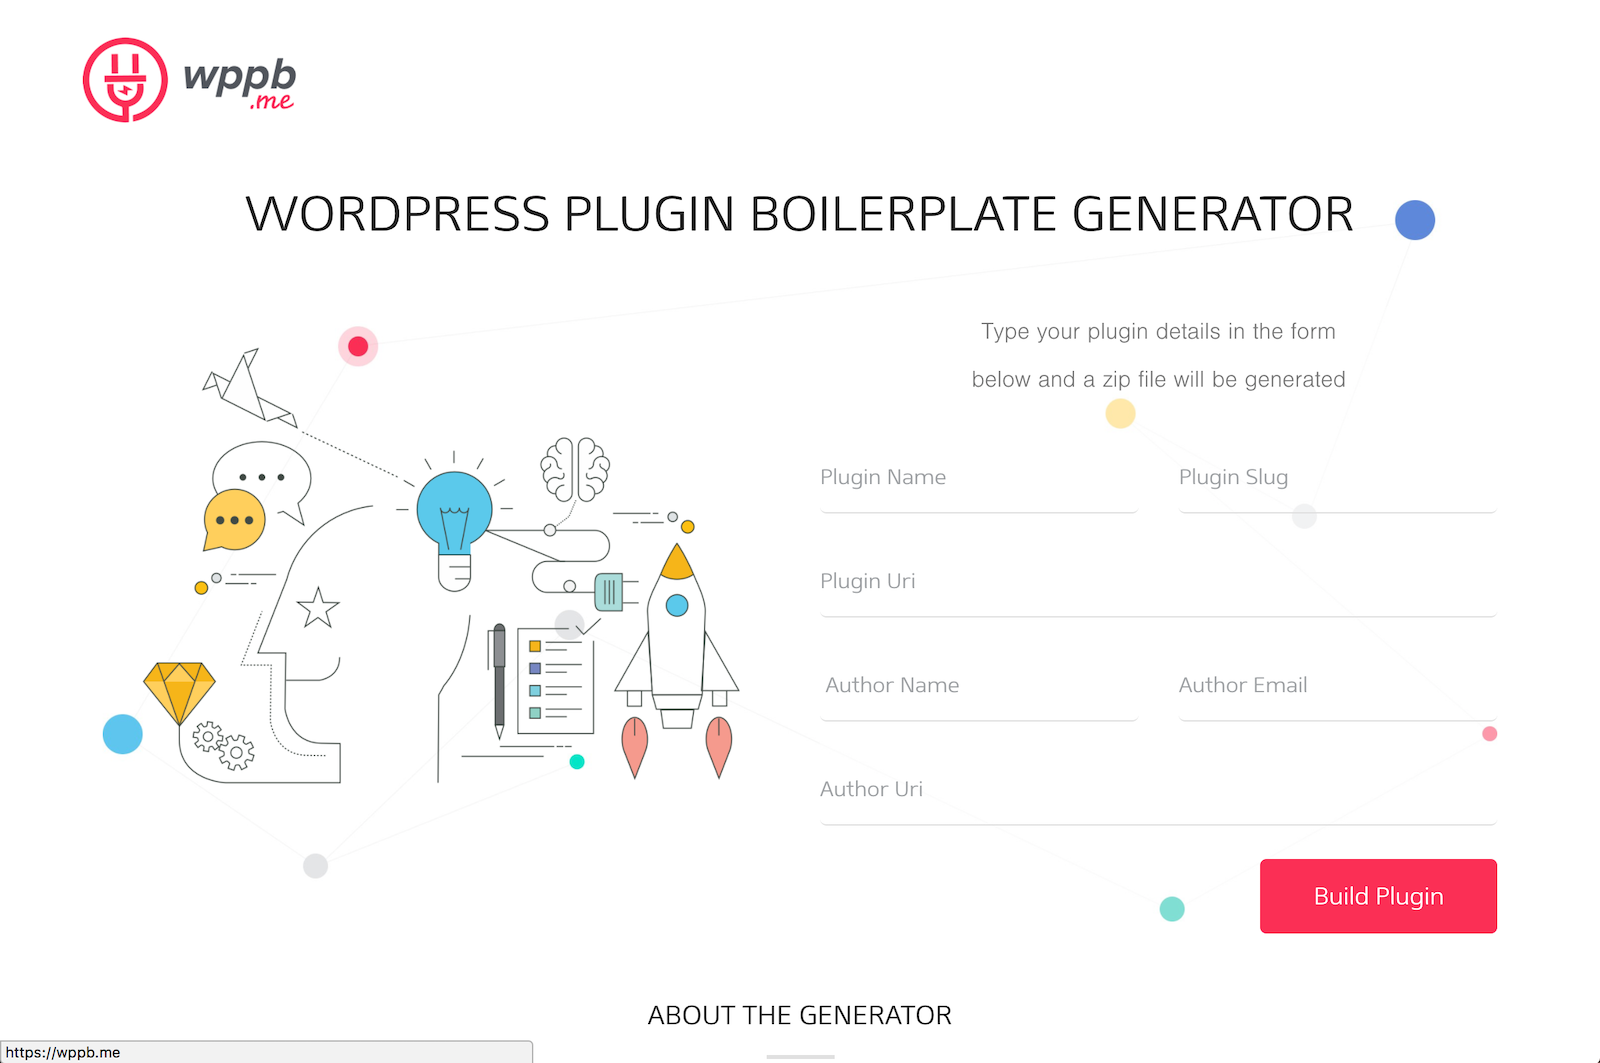
The generator operates from a simple form. After hitting the Build Plugin button, the site returns a zip file of a boilerplate-based plugin. Let’s start by looking at the form.
Plugin Name
We start with the name of your plugin. Here’s what I entered for our example plugin: WP Starter Plugin.
Plugin Slug
The plugin slug becomes the translation string, the URL slug, and part of each class file name. Here’s what I entered for our example plugin: wp-starter-plugin.
Plugin URI
The plugin URI is the web address where people can find more information about your plugin. Here are some ideas for this URL:
- the github repo page
- a dedicated plugin website URL
- a page on your site
I create a page on my site for each plugin I publish, so here’s what I entered for our example plugin: https://www.slushman.com/wp-starter-plugin.
Author Name
In this field, enter the name of the plugin developer. This should be your wordpress.org username, especially if you plan to publish your plugin. Otherwise, you could use your proper name (ie Chris Wilcoxson) For our example plugin, I entered my wordpress.org username: slushman.
Author Email
Enter a valid email address. If you plan to publish your plugin to the WordPress Plugin Directory, the directory admins will contact you through this email. Otherwise, people will most likely use this for support requests. For our example plugin, I entered my email.
Author URI
This is simply the author’s website. For our example plugin, I entered the URL of this website: https://www.slushman.com.
Build Plugin
Finally, click the Build Plugin button to build your plugin. The site should allow you to download the zip file of your new plugin.
Examine the Results
Open the zip file and check out the resulting plugin. You can see the plugin uses the boilerplate structure, except the classes now use your plugin slug. If you open some of the class files, you’ll notice the translation strings use your plugin slug as well.
I’m sure you can see the generator saves a good deal of time when starting a new plugin. Finding and replacing each string and filename isn’t overly difficult, but it can be time consuming, especially if you miss one and get errors.
Wrapping Up
In the next post, we’ll look at the final steps needed before actually beginning development. While the generator saved some time and manual labor, there are some parts of the plugin that require attention before moving on to development.